How to Create a Google Business Profile
What is Google Business Profile Manager?
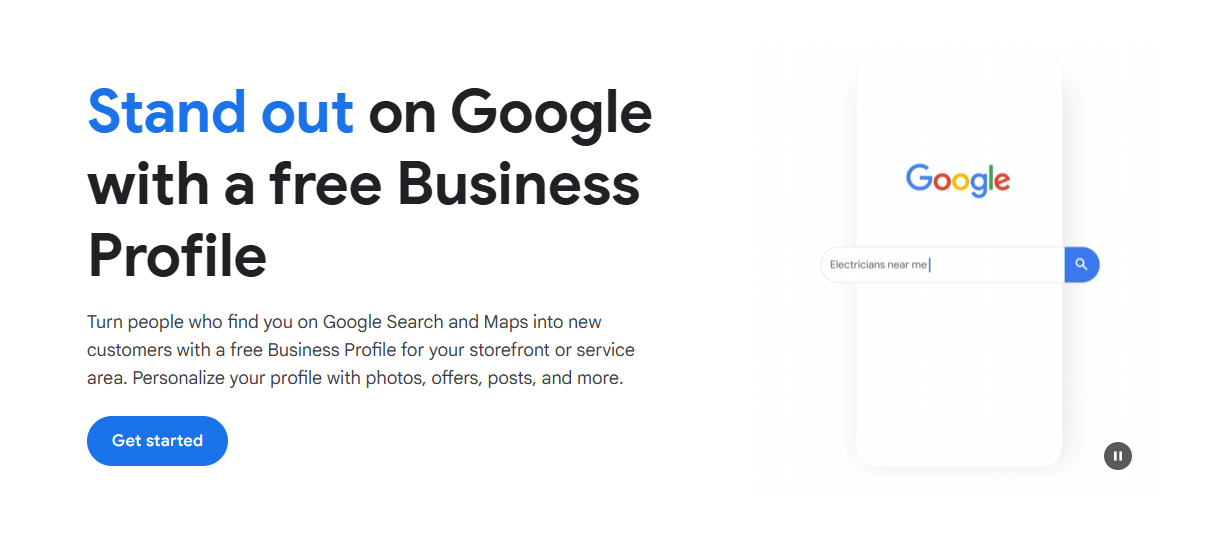
Google Business Profile Manager is a free tool provided by Google that allows businesses to create, verify, and manage their profiles across Google’s search engine results pages (SERPs) and Maps. By maintaining an optimized profile through this platform:
- You ensure accurate information about your business reaches users when they search for related products or services.
- You improve local SEO performance by appearing in relevant searches.
- You build trust with potential customers through verified details like contact info, hours of operation, reviews, photos—and much more.
Whether you’re running one location or managing multiple branches as part of an agency effort—GBP Manager provides all the tools needed for success.
Account Types
- Standard Accounts
- Organizational (Agency) Accounts
1. Standard
A Standard Account within GBP is ideal for individual business owners or team members who handle day-to-day operations but don’t require full administrative control.
Key benefits include:
- Managing essential updates such as operating hours or contact details.
- Assigning permissions at the business group level without granting overarching access.
This type works well if you’re focused on managing one location—or only need limited functionality within larger teams.
2. Organization (Agency)
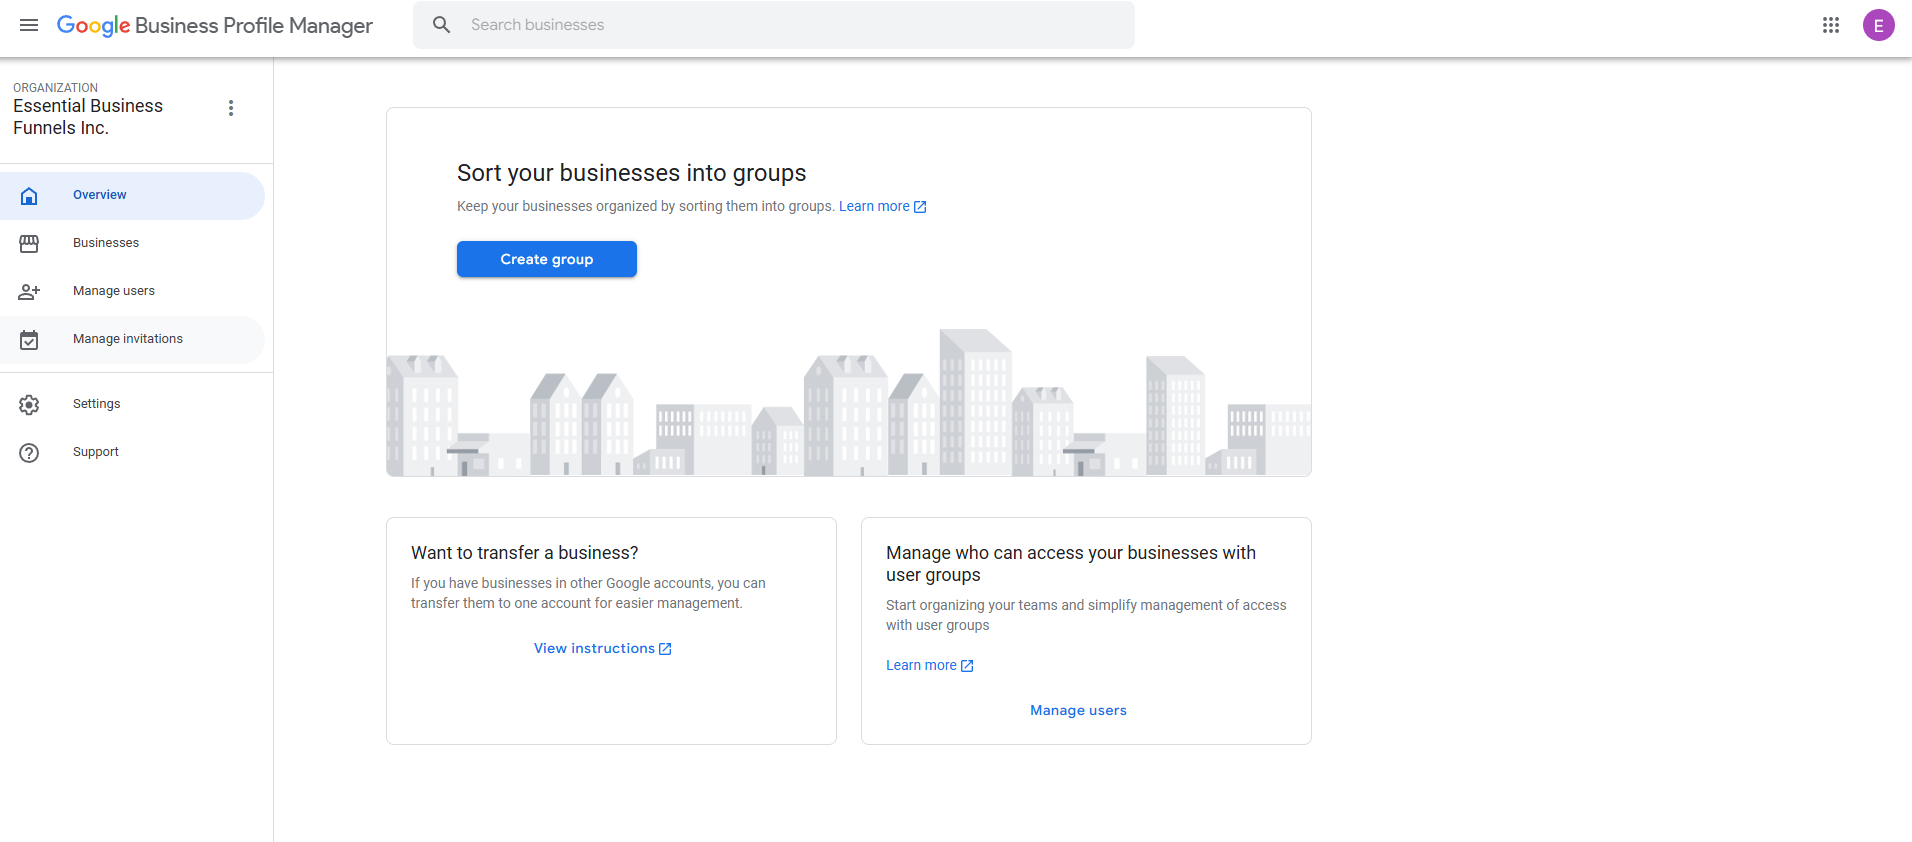
An Organization Account, designed specifically for agencies or businesses overseeing multiple locations/profiles simultaneously:
- Centralizes management efforts across various clients/branches while maintaining consistency.
- Allows creation of user groups that streamline administrative tasks by assigning roles at both individual profile levels and broader business group levels.
While setting up an organization account may involve prerequisites like transferring ownership from existing profiles (see below), it offers unmatched scalability for agencies handling numerous properties efficiently.
Key Differences:
| Feature | Standard Account | Organization (Agency) Account |
|---|---|---|
| Registration Email Type | Personal Gmail accounts allowed | Requires domain-specific email |
| User Management | Assign users per business group | Create user groups; assign flexibly |
| Ideal Use Case | Single-location management | Multi-location/agency-level oversight |
Creating an Organization Account
Creating an organization account involves just a few steps—but there are some important prerequisites you’ll need to address first:
Prerequisites
- Your current Google account must not already manage any profiles directly. If it does, Transfer primary ownership temporarily using another email before proceeding with setup.
- Use an email tied directly to your company’s domain name (e.g., josh@essentialbusinessfunnels.com). This ensures proper verification during registration processes.
- If no custom domain exists yet, set up forwarding rules so emails sent via [yourdomain].com redirect into Gmail inboxes seamlessly—this step ensures receipt codes arrive correctly late
Steps to Register
- Visit https://business.google.com/agencysignup.
- Enter your agency domain name.
- Provide and confirm an email address associated with that domain.
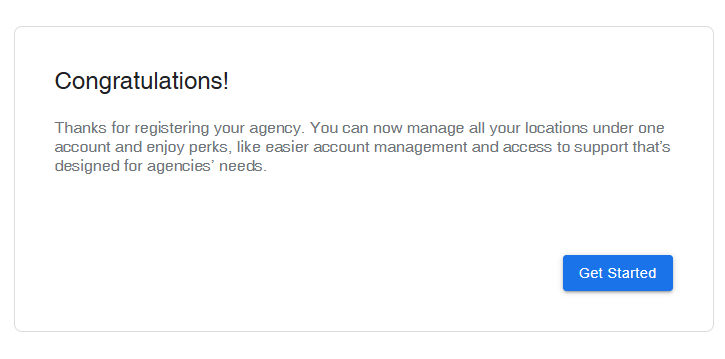
Once registered, you can begin transferring profiles back into this new organization account or start managing new ones directly.
Adding a New Profile
Adding a business profile is one of the first steps in optimizing your presence on GBP Manager. Here’s how:
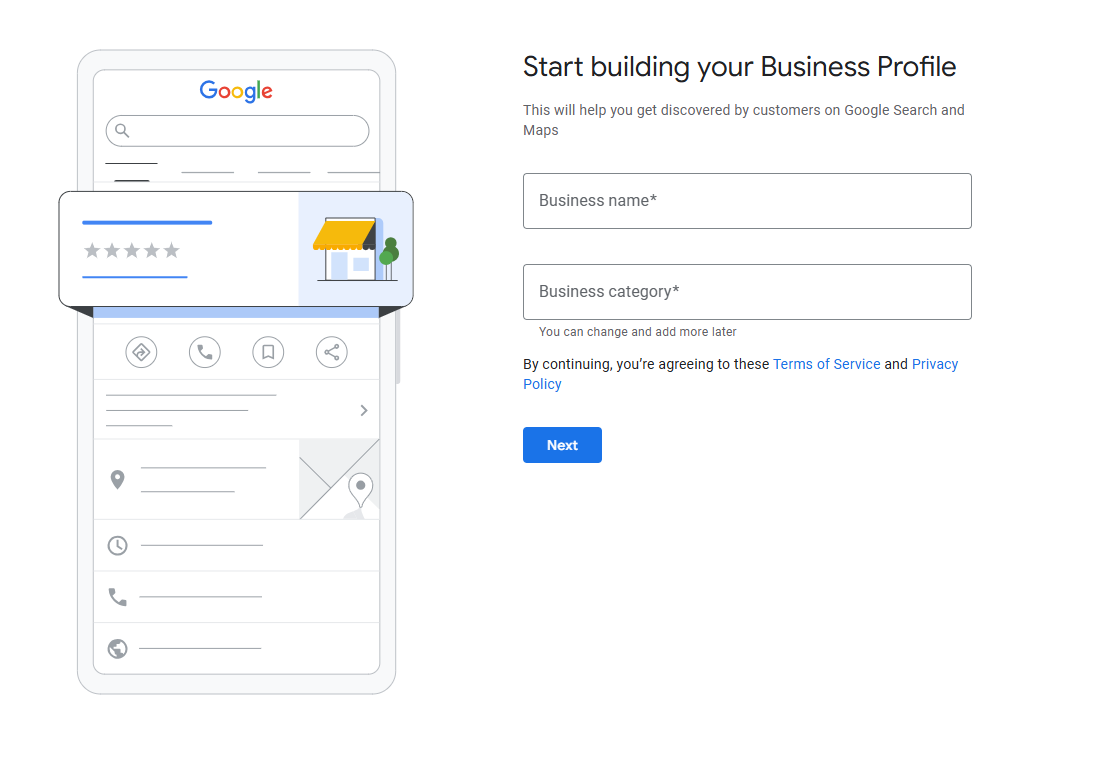
1. Enter Your Business Name
During setup, enter your business name exactly as it appears offline—on signage, invoices, or branding materials—to ensure consistency across platforms like Maps or Search results.
- Verification: Google may cross-check public records to validate accuracy.
- Updates: If rebranding occurs later (e.g., changing names), updates must be made through GBP settings—and additional verification may be required.
- Use only your official brand title; avoid promotional phrases like “Best Pizza in Town,” which violate Google’s guidelines.
- Ensure uniformity between online listings and physical branding materials for better recognition by customers.
2. Business Category
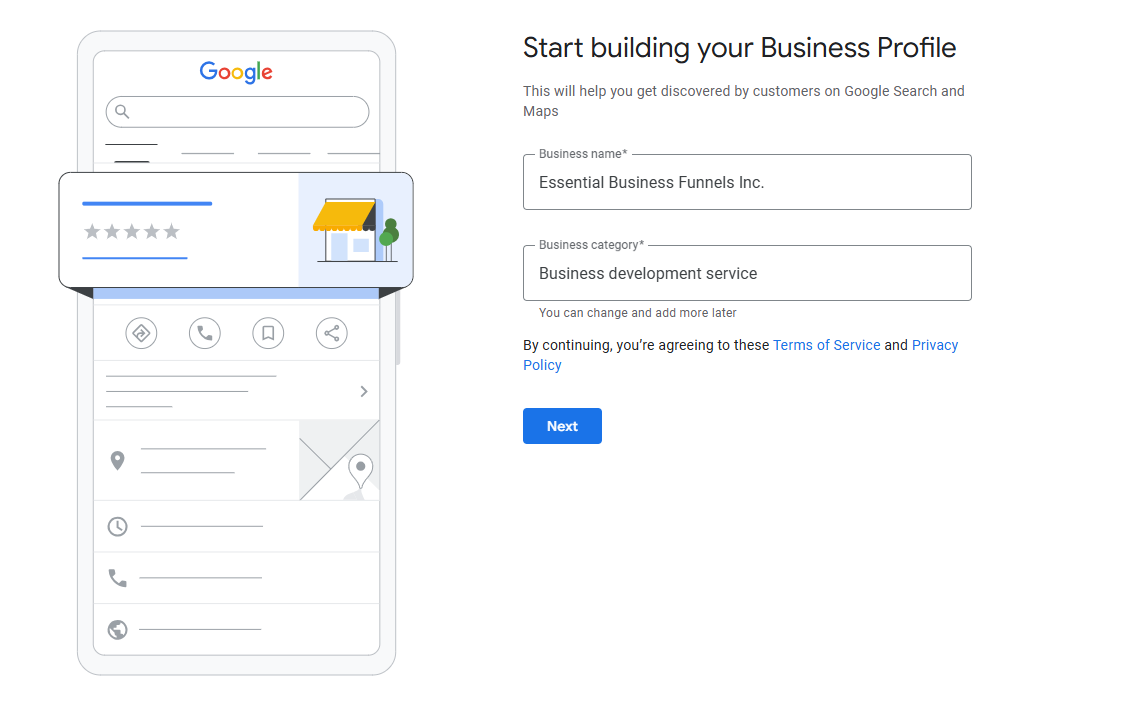
Your primary category determines how users find you during relevant searches (e.g., “Italian Restaurant near me”).
- Choose one primary category that best describes what you do.
Secondary categories allow flexibility without diluting focus from core offerings.
- Add secondary categories if applicable—for example: A bakery might select “Bakery” as its main category but also include “Café” or “Dessert Shop.”
Browse these curated lists of Google Business Profile categories to help you find the best match for your business.
3. Business Location
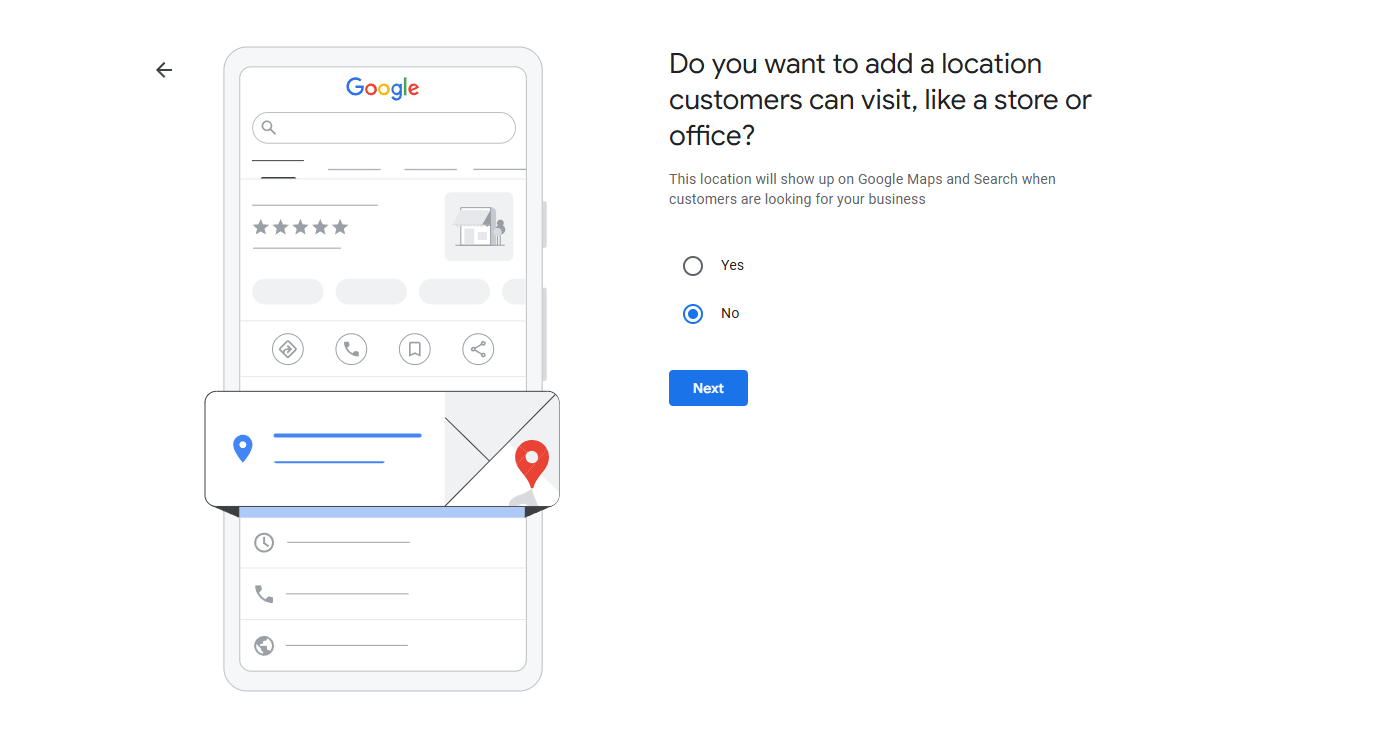
Whether you’re running a brick-and-mortar store or offering services remotely:
- For storefronts: Enter precise addresses so customers can visit easily via directions on Maps/Search results.
- For service-based businesses: Define coverage areas instead of specific locations if no physical office exists.
Google requires verification through methods such as postcards mailed directly to listed addresses before displaying these details publicly.
4. Contact Details
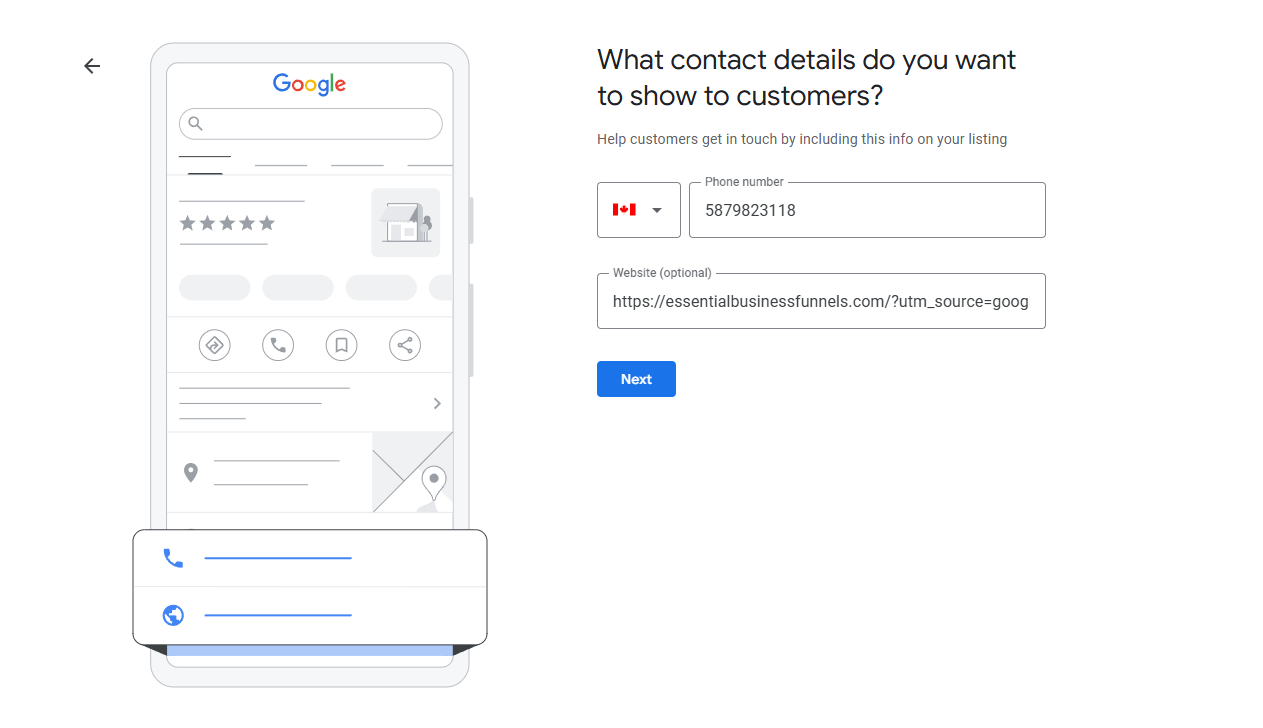
The Contact Details section is critical for enabling direct communication with potential customers while driving traffic to your website. It includes:
- Phone Number: Display a clickable phone number so users can call you instantly via desktop or mobile devices.
- Website URL: Link directly to your official website, allowing visitors to explore more about your products or services.
Pro Tip: Track Website Traffic
By default, traffic originating from GBP listings is categorized as “Direct” in Google Analytics.
To measure this accurately, use Google’s Campaign URL Builder to create custom URLs for tracking clicks specifically from GBP profiles.
5. Business Hours
Your operating hours are prominently displayed on both Google Search results and Maps—helping customers know when you’re open or closed in real-time.
Best Practices:
- Enter regular business hours during setup (e.g., Monday–Friday: 9 AM–5 PM). Customize schedules for weekends if needed.
- Add special/seasonal hours (e.g., extended Black Friday timings) using GBP’s dashboard without disrupting regular listings.
- For businesses offering split shifts (e.g., lunch service followed by dinner), configure separate blocks within one day seamlessly.
Accurate business hour settings ensure customer satisfaction while avoiding confusion about availability!
6. Business Description
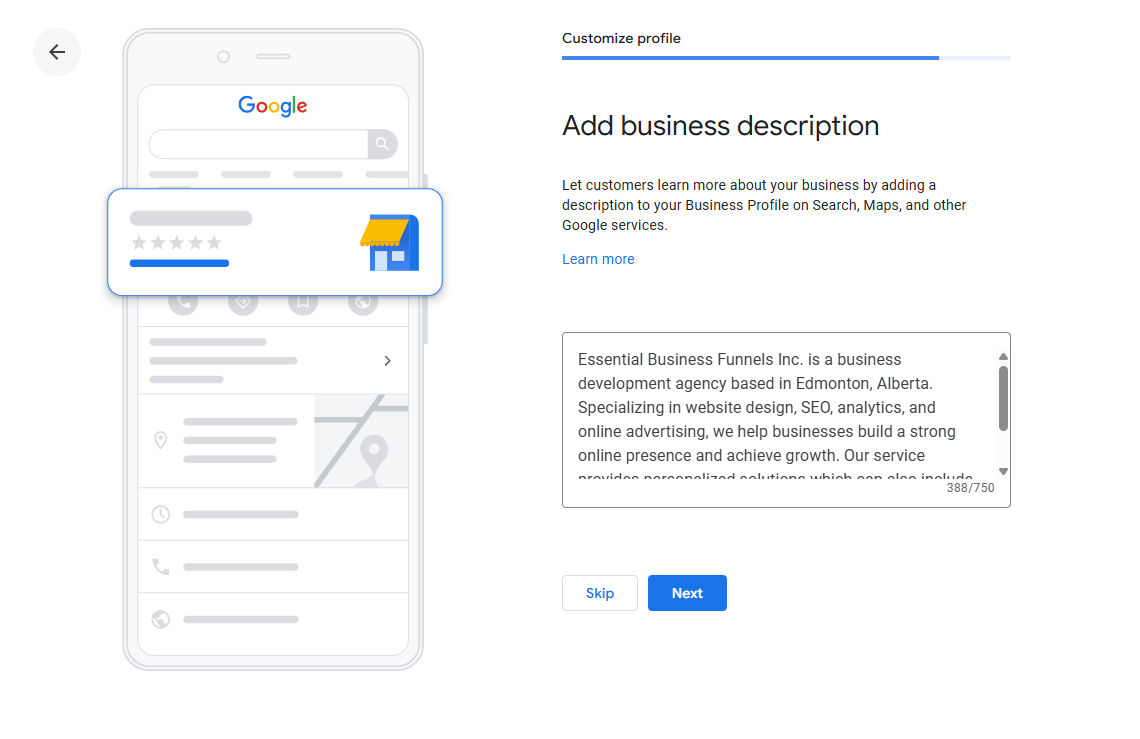
The Business Description section in Google Business Profile allows businesses to share their story while highlighting key offerings. It’s an opportunity to connect with potential customers by showcasing what makes your business unique.
Best Practices for Crafting Your Business Description:
- Be Concise: You’re limited to 750 characters (with only ~250 visible before truncation), so make every word count.
- Highlight Unique Selling Points: Mention awards (“Voted Best Bakery in Chicago”), specialties (“Authentic Italian Cuisine”), or customer benefits (“Free consultations available”).
- Incorporate Keywords Naturally: Use relevant terms that align with how users search for businesses like yours—this can improve local SEO rankings.
- Avoid Over-Promotion: Focus on providing value rather than stuffing keywords or making exaggerated claims.
A well-crafted description helps users quickly determine if your business aligns with their needs while building trust through transparency.
7. Adding Photos
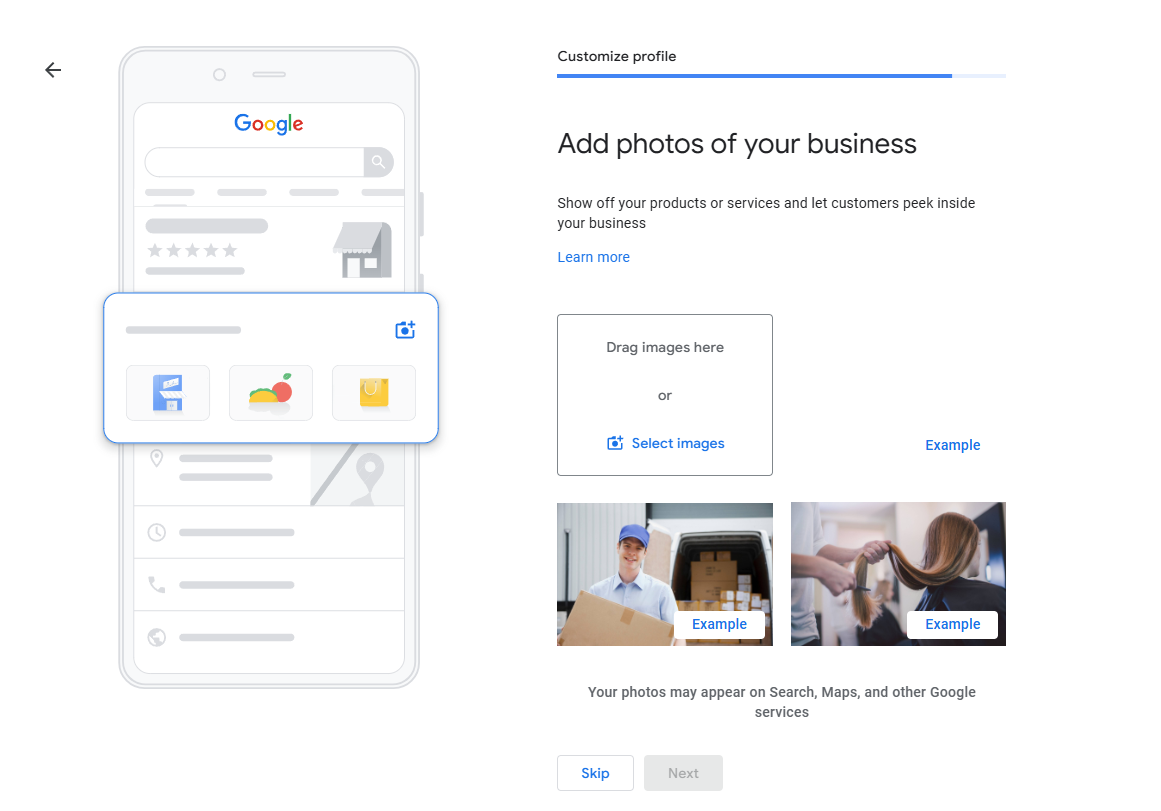
Images play an essential role in attracting attention and building trust among potential customers viewing your profile online. High-quality visuals showcase everything—from storefronts and interiors to products/services offered—and help differentiate you from competitors.
General image format:
- Format: JPG or PNG
- Maximum File Size: Up to 5 MB
Types of Photos You Should Upload:
- Cover Photo – Represents your business at first glance; choose an engaging image that captures attention immediately.
- Resolution: Minimum 1024px x 576px (landscape orientation preferred)
- Aspect Ratio: Ideally 16:9
- Logo – Reinforces brand identity across search results.
- Resolution: Minimum 250px x 250px; larger sizes like 500×500 px recommended for clarity on all devices
- Aspect Ratio: Square (1:1)
- Interior/Exterior Shots – Showcase what customers can expect when visiting (e.g., ambiance inside a restaurant or signage outside).
- Product/Service Images – Highlight key offerings like menu items for restaurants or finished projects for service-based businesses.
- Team Photos – Introduce staff members to create personal connections with potential clients/customers.
By uploading authentic visuals that represent your business accurately and professionally, you increase the likelihood of attracting new customers while building trust online.
Bonus Image Guidelines
- Photo Requirements: Attach 3-5 unedited photos of the following:
- The business’ shop front as seen from the street and/or in front of your shop. (Required)
- Signage that shows the name of the business and its entrance. (Required)
- The inside of the business. (Optional)
- Link that shows Google Street View imagery of the street and/or neighborhood in which your business is located. (Optional)
- Name and website URL of the venue in which your business resides, like a shopping mall. (Optional)
Verification
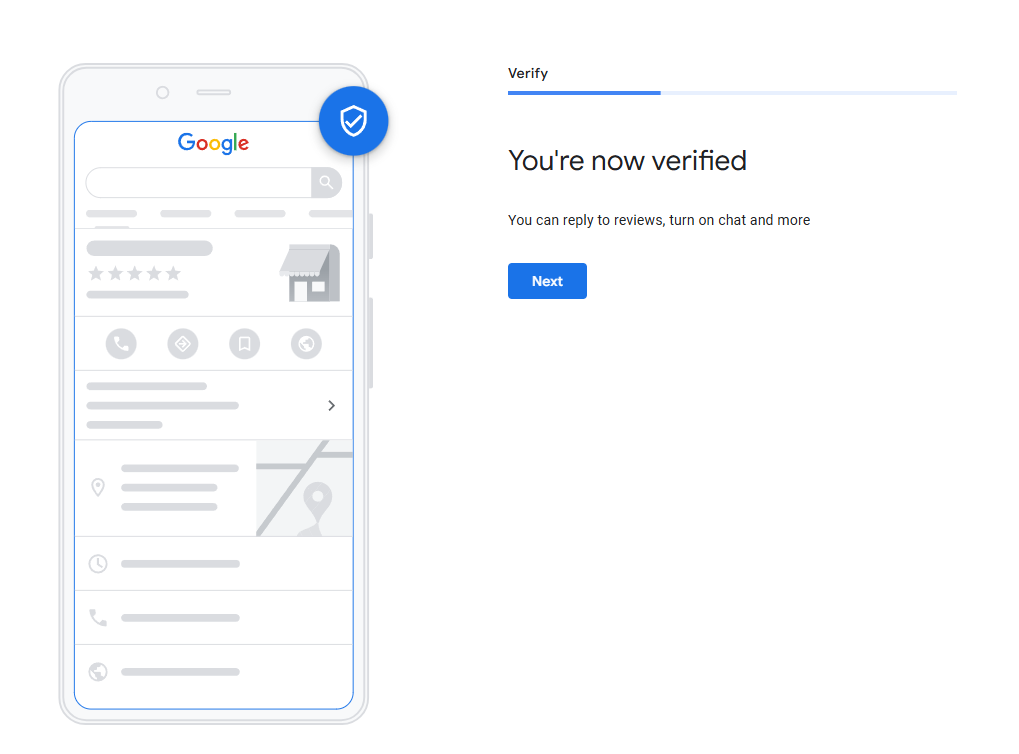
Verification is the process through which Google confirms that you are the legitimate owner or manager of a business listed on its platform. It serves as proof of authenticity for both users and Google’s systems, ensuring that only verified businesses appear in search results and on Maps.
Without verification, your profile will not be fully visible to customers or eligible for many key features like reviews, messaging, or updates. Achieving “Verified” status unlocks these capabilities and signals credibility to potential customers.
Verification Methods
Google offers multiple methods for verifying a business depending on its type (brick-and-mortar vs service-based) and location:
- Mail: The most common method where Google sends a postcard with a unique verification code to your physical address.
- Phone Call/Text Message: Available for some businesses; you’ll receive an automated call/text with instructions.
- Email: For certain profiles tied directly toward domains already associated previously via Gmail accounts etc..
- Video (Live):
- You schedule a live video call with a support representative via the GBP app or desktop interface.
- During the session, you’ll need to show proof of ownership such as signage at your location, inventory/equipment related to operations onsite etc.
- Alternatively pre-recorded clips showcasing same evidence submitted separately
Common Barriers
- Landlines with automated answering services can be a barriers to verification. In our experience the code that Google sends cannot get through if there is an automated voice answering service.
- Call forwarding services can also prevent the verification code form getting though.
- Emails with a different domain than the website that you have entered. If google offers you the option to verify via email, it will prompt you to use an email with the same domain as your website. If you do not have email hosting on this domain or if you are an agency with an alternate email then you will have trouble getting the code via email.
Advertising Credits
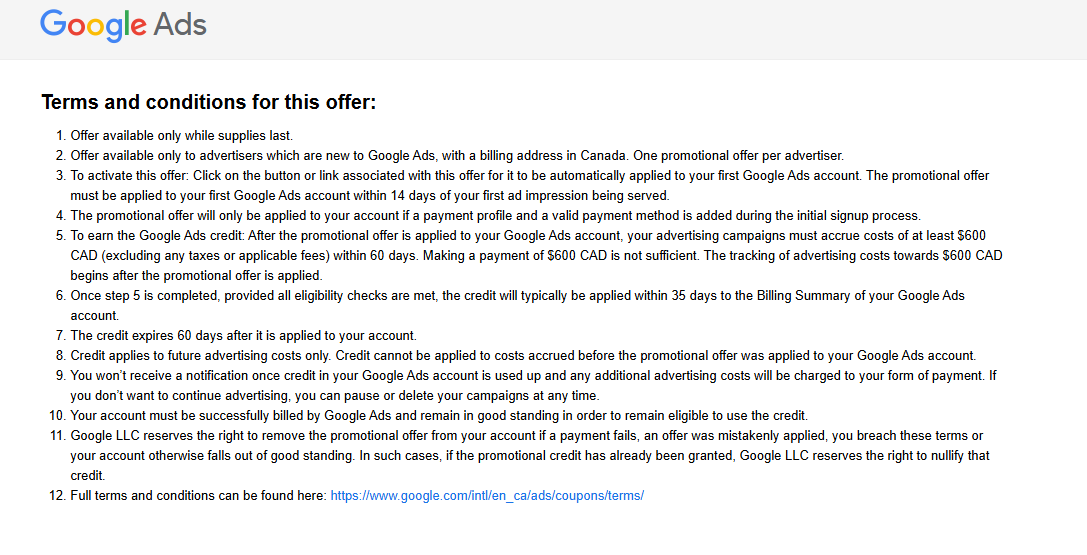
Currently the $600 ads credit is a promotional offer provided by Google to eligible businesses that create or manage their online presence through Google Business Profile (GBP). The goal of this feature is to encourage businesses—especially those new to digital advertising—to experiment with paid campaigns on Google Ads, which can drive traffic, leads, and sales.
This one-time promotional credit acts as free ad spend that you can use toward running campaigns such as search ads (text-based results in search engines), display ads (visual banners across websites), or even local service ads designed specifically for your geographic area.
You must meet specific eligibility criteria outlined by Google (e.g., being a first-time advertiser or creating an account within certain regions). To unlock the full value of the $600 credits:
- You need to spend money on initial ad campaigns over time (the exact threshold varies but often starts at around $500).
- Once you’ve spent enough qualifying dollars from your own budget during an active campaign period—usually within 30 days—the bonus amount will be credited automatically into your account.
- The credited funds are applied directly toward future ad spending until they’re fully used up.
- Any unused portion expires after six months unless otherwise stated in terms & conditions.
